HKpowerStudio

Creatively Organized Spaces

  • Home
  • About
  • Organizing Services
    • PROFESSIONAL ORGANIZING SERVICES
    • ART ORGANIZING & DESIGN SERVICES
    • VIRTUAL ORGANIZING SERVICES
    • Projects
    • Home Inventory without Heartache
  • Blog
  • Resources
    • Closets & Clothing
    • Vision Board Workshops
  • Media
  • Connect

GO-Month | Call Your Year to Order!

January 4, 2020 by Heather Filed Under: Organize, Tips & Resources Leave a Comment

What is GO-Month? In NAPO‘s words:

“January is Get Organized & Be Productive (GO) Month, an annual initiative sponsored by the National Association of Productivity & Organizing Professionals (NAPO). This month-long event increases general public awareness of what NAPO is and how our members are drivers of change by providing unique services tailored to meet their individual client needs.

January is the ideal time for GO Month since “change” is a popular New Year’s resolution. During GO Month, NAPO professional organizers and productivity consultants across the country host events in their communities to empower individuals, families, businesses, and organizations to regain control over their surroundings, time and possessions.”

Professional organizers enhance the lives of clients by designing systems and processes using organizing principles and through transferring organizing skills. Getting organized is one of the top 5 (in fact it’s #2!) New Year’s resolutions, January is the perfect time to get started.

Make a commitment to get organized and call your new year to order! To find a professional organizer near you visit NAPO’s Professional Organizer and Productivity Consultants Directory to search for professional organizers or productivity consultants in your area. And of course if you are in Charleston or Camden, SC, and need some help getting organized, please send me an email and lets schedule a time to chat. Wishing all your organizing dreams come true with 2020 clarity this year!

Travel Tips for a Happier Holiday

December 17, 2019 by Heather Filed Under: Organize, Systems & Techniques, Tips & Resources 1 Comment

More Tinsel Less Bristle-Travel Tips for a Happier Holiday!

travel tips for a happier holiday

All too often we hear about the chaos and stress of the holiday season. The holidays are an opportunity to spend quality time with family and friends, but between long road trips and TSA merriment is often overlooked. This season we’ve put together a list of travel tips for a happier holiday so that the only frosty part of your holiday is the snowman outside.

  1. Keep in mind who you are traveling with. With kids? Make sure you have extra games or activities and maybe a few healthy snacks – the more spill-proof the better. This will keep the little ones entertained and cut down on grumpy roadside snack stops.
  2. Invest in quality luggage. Nothing is more frustrating than dragging an oversized, tearing at the seams suitcase with a couple of busted wheels. If you are traveling by plane, double-check that your carryon or checked luggage is within size and weight restrictions.
  3. Pack light. You may be bringing things back, and you do not need 5 pairs of shoes for a 4 day stay. And don’t forget! If you are taking gifts with you by plane be sure to save the wrapping for after your arrival.
  4. Before you leave the house – tidy up things up a bit. After long hours on the road or in the air, the last thing you want to come home to is a mess.
  5. Before you drive – consider leaving in the early morning or late night hours when traffic is at its lowest, aim for 2-digit interstates which provide the most direct routes through cities, and make time to stop and stretch your legs which will keep your body from assuming constant chair pose and give your mind that much needed second wind.
  6. Before you fly – check in online ahead of time to save yourself from unnecessary kiosk lines and arrive early. During the holiday’s airports are packed and subject to cancellations or delays, so a minimum of two hours before boarding time is ideal particularly if you are flying into or out of airports like JFK, LGA, or O’Hare to name a few.
  7. Remember to breathe. While you are sitting in traffic or waiting in line at TSA take a moment to monitor your breath. Avoid getting caught up in the hectic energy that makes us feel like we are rushed. Unknit your brow, relax your shoulders, take a deep breath, and take your time.

Most importantly, remember to pack a good attitude. We all know plans don’t always go exactly as expected. Be ready to roll with the punches and if your patience begins to slip remember that in a few hours you’ll be surrounded by the ones you love so you can eat, drink, and be merry.

Save

Save

Year-Ahead Planning Resources

December 14, 2019 by Heather Filed Under: Organize, Paper management, Tips & Resources, Uncategorized 2 Comments

“Where I’m headed is a direct result of the ideas, goals, intentions and plans I create space for in my life.” -Heather K. Powers

year-ahead planning

I’ve come to love a few tools that I use over and over routinely. I’m including a round up of them below along with some new tools! Planning begins for me by selecting a planner. I went back to paper a few years ago. I’ve used quite a few planners over the years, including the Franklin Covey system, Filofax, Danielle La Port, and more!

Schedule time for an end-of-year review and year ahead planning in the last weeks of the year.

I try to keep it simple and don’t go all out Bullet Journal. I use a Moleskin planner and customize it. This includes categories and intentions, goals, tasks, and events on a daily/weekly basis. My regular habit of Journaling helps me get a lot of ideas out of my head and on paper. During that process I can move more concrete ideas to my planner. This works for me. I’m always re-evaluating and making small adjustments. Overall, I’m happy with this and can easily go back through my year to see my accomplishments. If you’re searching for some great planning tools, the first few below are ones I’ve personally used and love! The last couple are new additions. But I deeply trust the sources and can recommend them with full confidence you will find them helpful!

  • Susannah Conway guides us to reflect on your year in Photo’s (on Instagram) with December daily prompts. She has a beautiful tool called “Unravel your year”
  • The word of the year is a process that both Christine Kane and Susannah Conway share tools for discovering. I’ll be revealing mine early next year.
  • Ali Edwards shares beautiful tools for her One Little Word discovery. She also offers a year-long creative exploration you can join. She’s one of the first people I discovered the word of the year with!
  • Check out this free toolkit from Do What You Love
  • Moleskine Planners are still my favorite. Although I’ve tried digital planners and other newer planners, I keep going back to this great staple. I love the flexibility, lovely colors various sizes, and layouts.
  • Danielle Laporte offers her free Soulful Habit Tracker. She also sells a gorgeous planner and other great tools for inspiration for planning. I’m a long time reader and fan of Danielle’s!
  • Vision boards! This is such a fun project/tool for creating a visionary map of what you want to create in your new year. It’s a practice I began about 7 years ago and I’ve continued to make them and teach them almost every year! Join me for my next workshop here.

How do you do year ahead planning and reflect on your accomplishments? I’d love to hear your favorite tools and routines in the comments below! I know there are a lot of options out there so I’m only sharing what I know, trust, and have seen results from:) Happy, almost, New Year!

Attic storage inspiration, before the holidays!

December 4, 2019 by Heather Filed Under: Organize, Organizing Projects, Systems & Techniques, Tips & Resources Leave a Comment

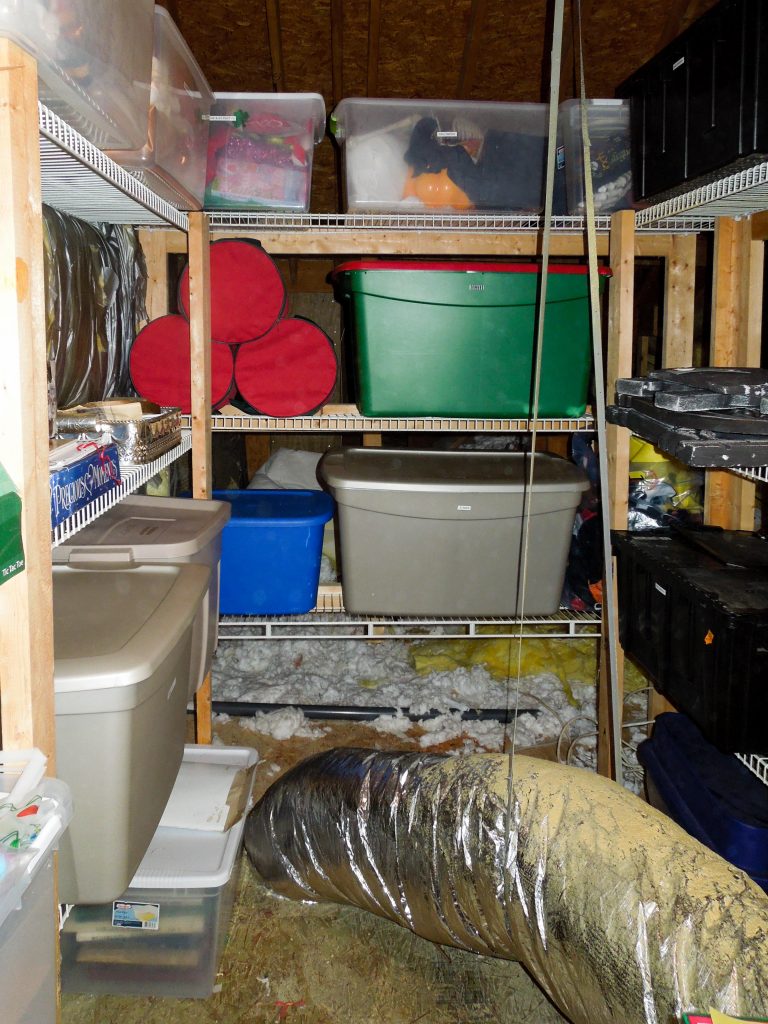
Outta sight attic storage sometimes needs a little inspration. When we can’t see it regularly, those areas can get clutteered and filled up with unknown mystery and duplicate items. Here are some essential go-to attic storage tips, just in time for you to get your storage organized for the holidays!

Six simple fixes that will make your attic storage easier to access and use.

  1. Safety
  2. Flooring
  3. Shelves
  4. Bins
  5. Labels
  6. Hanging storage

Start with making your attic/stair’s easy to access and safe. Check the cables, railing and steps for safety a couple times a year and have them maintained or replaced as needed. There are some really great new stair options out there, see more here.

https://www.pinterest.com/pin/56787645281838946/

Next, think about the safety of what you are storing. If your attic is not climate controlled, whatever you store there will be subject to fluctuating temperatures and humidity. This can be especially damaging to wood and paper products. The attic is not the best space for books, photo’s and valuable heirloom furniture. You also may not want to store clothing long term, but seasonal storage in bins or a cedar chest should be okay.

The attic should be totally fine for extra household items including bulky or less frequently used kitchen items, travel gear (suitcases etc) and all your holiday decorations (except candles-I recommend storing ALL candles together). Of course, do not store flammable items in the attic and keep things clear of HVAC and other utilities (per instructions of the manufacturer). I’ll share more next month on specific holiday decor storage ideas.

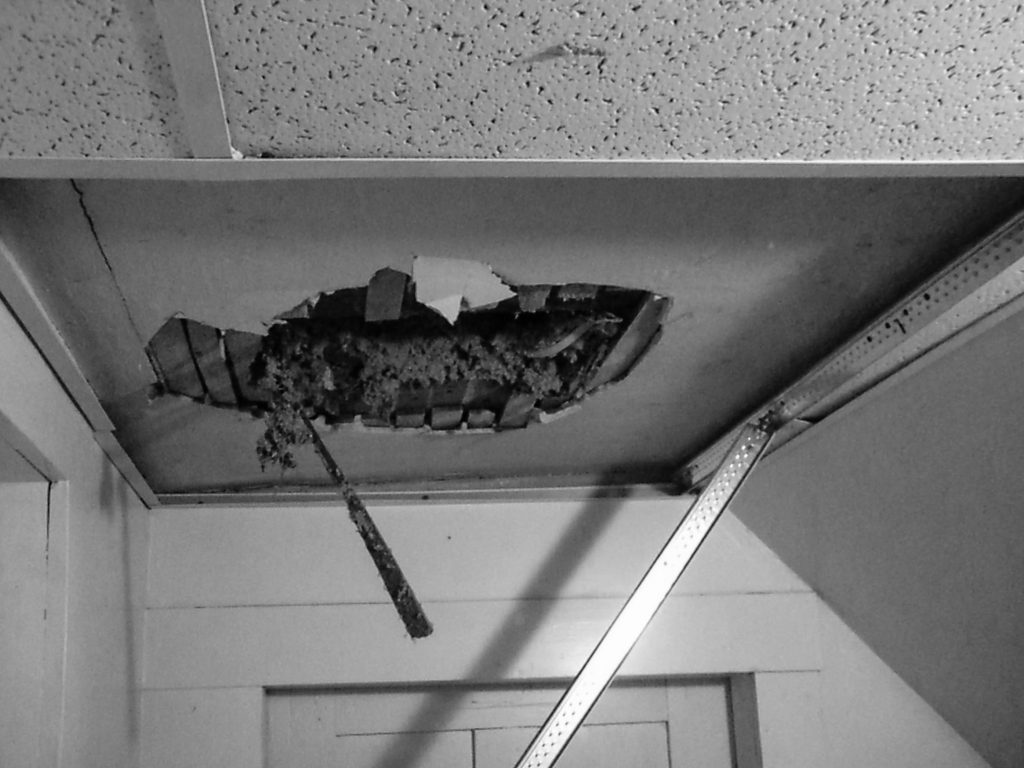
Put down some sort of flooring! Don’t straddle the rafters, step through drywall or get fiberglass all over yourself! There are a lot of options, from plywood to these really great (reusable) Lock-N-Rollin floors…so easy to install!

Use or install shelving of some sort. It’s fine to stack bin’s if you only have a few but if you have a lot to store, shelves (either pre-made or custom built) will make it super easy to pull things in and out.

Attic Storage

Attic Storage

  • Use smaller bins to make it easier to bring things up and down. Make sure you know how large your opening is so you know what size storage will fit. I see so many people who try to put large bins in the attic, this usually causes accessibility challenges.
  • Store like things together by season and category (holidays etc).
  • Add labels to bins and shelves as needed.
  • Hang things in unusual or tight spots. This is a clever fold down “secret” storage spot but you can also just add hooks and hang oddly shaped, light weight items directly from rafters.

https://www.pinterest.com/pin/93590498489675677/

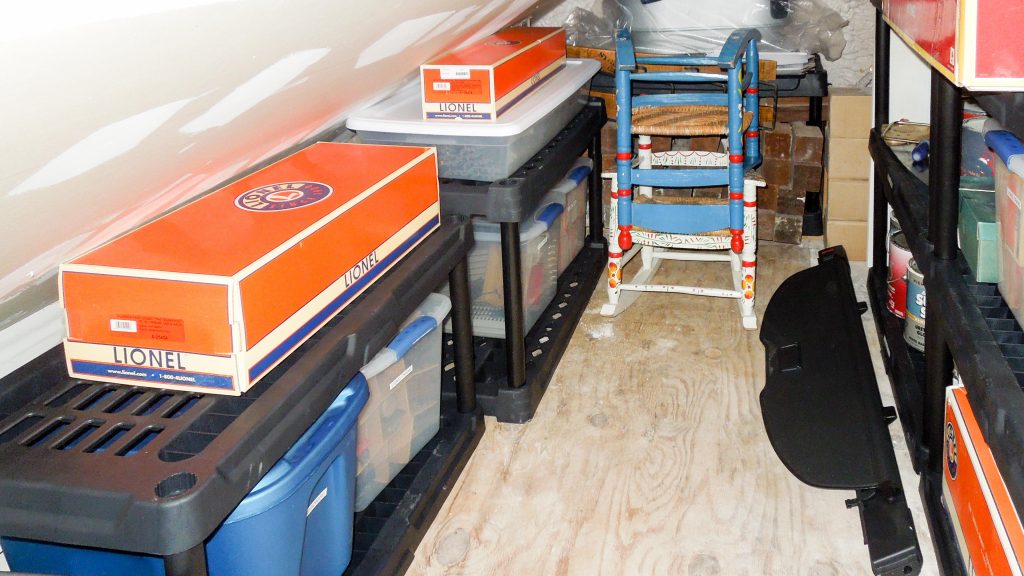
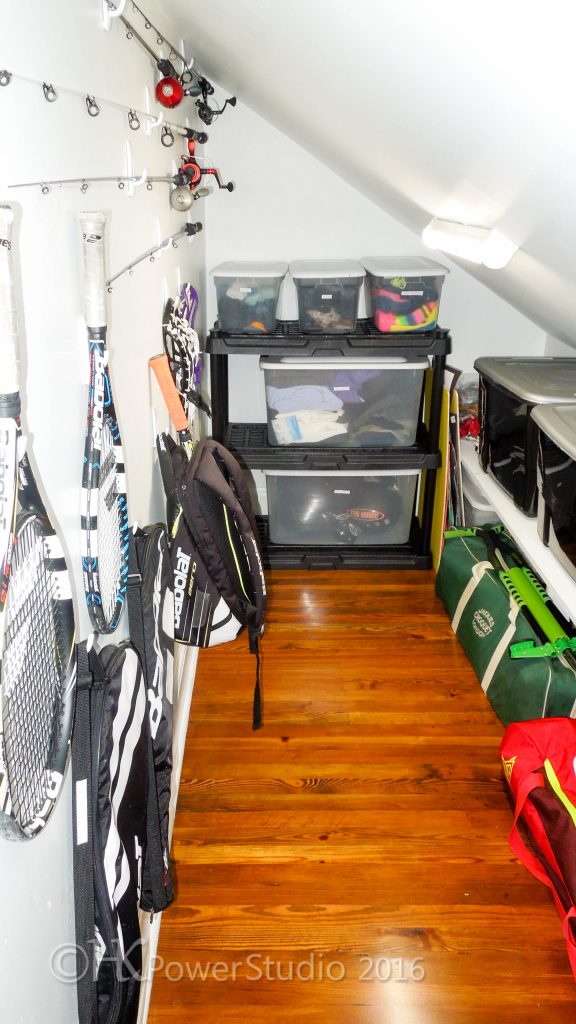
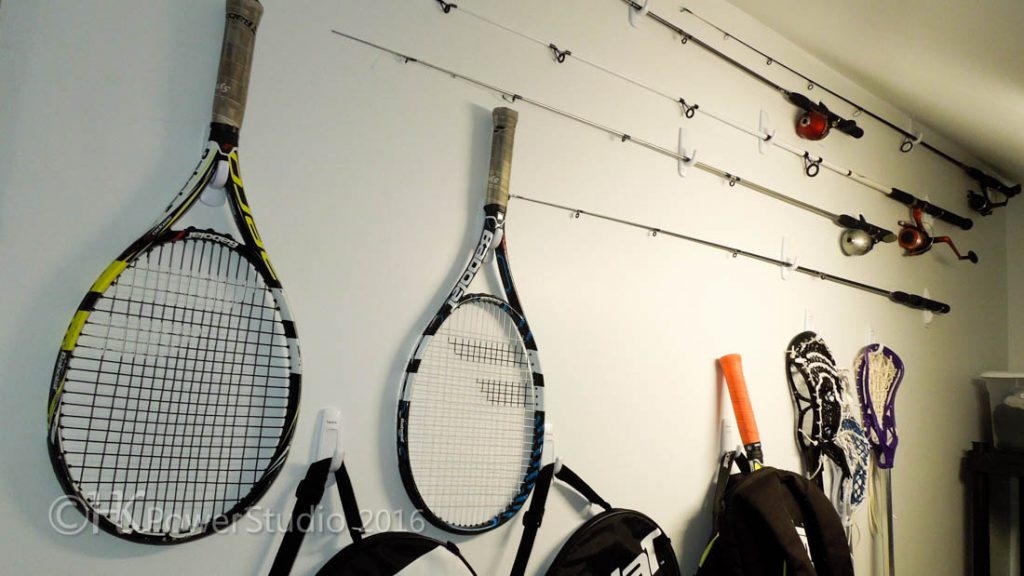
The space below is “finished” attic space but no less challenging due to the unusual shape. We used hooks to hang an assortment of sport gear on the wall so that the back of the space could still be accessible (with shelves added for additional storage).Attic Storage

With a bit of planning and elbow grease you can maximize your attic storage to suite a variety of household needs. If your project is out of your control, let me know how I can help!

Garage Organizing & Tidying Tips

October 28, 2019 by Heather Filed Under: Organize, Organizing Projects, Systems & Techniques

Fall (and Spring) are the perfect seasons to work on Garage organizing. With great weather and mild temperatures, I’ve been working on a lot of Garage Organizing Jobs. It’s the perfect time to get outside and whip that garage (or shed) into shape before the holidays and dreams of parking your car IN your garage arrive! Taking the time to tackle the garage now, will help you prepare for all the fun seasonal activities in the coming months and get your household maintenance tasks done more quickly.  There’s a lot to consider when organizing a garage (and if you have a shed or workshop a lot of this can be applied there).  Are you ready to take on the Great Garage Organizing Challenge?

Garage Organizing

If you don’t have a garage, maybe your challenge will be to organize the shed, the attic or another storage area. The important factors to take into consideration are; amount of time you to complete the project and type of installation, painting and maintenance/repairs involved and your budget. Will you paint the walls or floors or put down parking or modular mats, add lighting or other features? Do you want to install an elaborate custom designed system (call in an expert) or go with DIY options?

  • Schedule a couple solid weekends of dedicated time for a 2 car garage or a large attic or 1 weekend and a few additional hours for a smaller area. Take family members schedules, temporary storage (things might need to be temporarily moved out of the garage so beware of HOA rules etc) and weather into account.  If your space is jam packed to the ceiling you might need more time to purge and work a path through the spaces, but lets hope you’re not there!
  • Do you have a green thumb and want a potting area for all your gardening supplies? Assess how you use the space or more accurately how you want to use the space.  Of all the rooms in your home the garage may be the most mult- functional! Don’t forget the basics like trash/recycling, cleaning products and supply storage.  How else do you use the space?
  • List out categories and quickly sketch “Zones” based on the space layout, functionality (power access, mobility), lighting (windows, existing fixtures) and frequency of use for each category.
  • This is the time that you should plan to make larger purchases such as shelving, lighting, pegboards or other necessary supplies.  Take measurements and make sure you buy what will fit and only what you know you need.  Try to keep systems modular if possible so they can be re-configured as needed.

Do you have a family with lots of sports enthusiasts and lots of gear? Or do you have a lot of tools for DIY projects?

Is your car currently parked in the garage and if not (it is your 2nd most expensive asset!) do you want it to be?  Do you do laundry in your garage or need a “mud room” area?  Make it easy for you and your family to juggle groceries and other items as you transition from your car to the house by using hooks, shelving and benches to place things by your home entrance.

  • Gather your supplies; gloves, basic tools, bags and boxes (for giveaway and trash/recycling), post it notes, permanent markers, label maker/labels, a variety of storage bins, various hooks (command and lg ‘ladder’ hooks) and any shelves or other items you purchased to install.  Start with what you have and make a list of smaller items you will need as you go.
  • Sort; I suggest working clockwise from the entrance-either garage door or door to house.  Work your way around the room one wall at a time around sorting items into keep, donate and toss.  If you don’t have an immediate way to store/re-install an item make a note and set the item in the general zone where it needs to go and come back to it.  Try to keep focused on one area at a time and not go back and forth between the room.  If you are able to move everything out to a holding area then keep things grouped by zone in bins to be returned when ready.
  • Clean as you go and make basic repairs/maintenance updates such as installing hooks, shelves etc.  This can be done one wall or zone at a time or with the whole room if it’s been cleared.
  • Store items in their new homes, this might require grouping and labeling items into bins, installing pegboards or slat walls with hooks, simple hooks or nails, shelving, bins/baskets etc.

Think vertical and don’t forget overhead storage space! Make sure these systems are well secured!!  Give them a good tug to make sure things don’t come tumbling down when you or the kids go to grab something.  Keep kids, heavy and more frequently used items lower to the ground (but make sure they are water proof if necessary) and lighter and less frequently used or more dangerous tools mounted up higher.

  • Finally, and possibly most importantly, donate & dump…Don’t forget to get the stuff that you have purged out the door as quickly as possible!  When stuff lingers it has tendency to find its way back in so don’t let that happen!

Hopefully this post has you thinking about when and what you can do to create a more organized family garage.  Take a look this weekend and if it feels too daunting to tackle yourself, remember you can always hire a Professional Organizer to help!

Back to School Prep | Toss & Tidy Up

August 8, 2019 by Heather Filed Under: Kids & Family Organizing, Organize, Organizing Projects, Systems & Techniques, Tips & Resources Leave a Comment

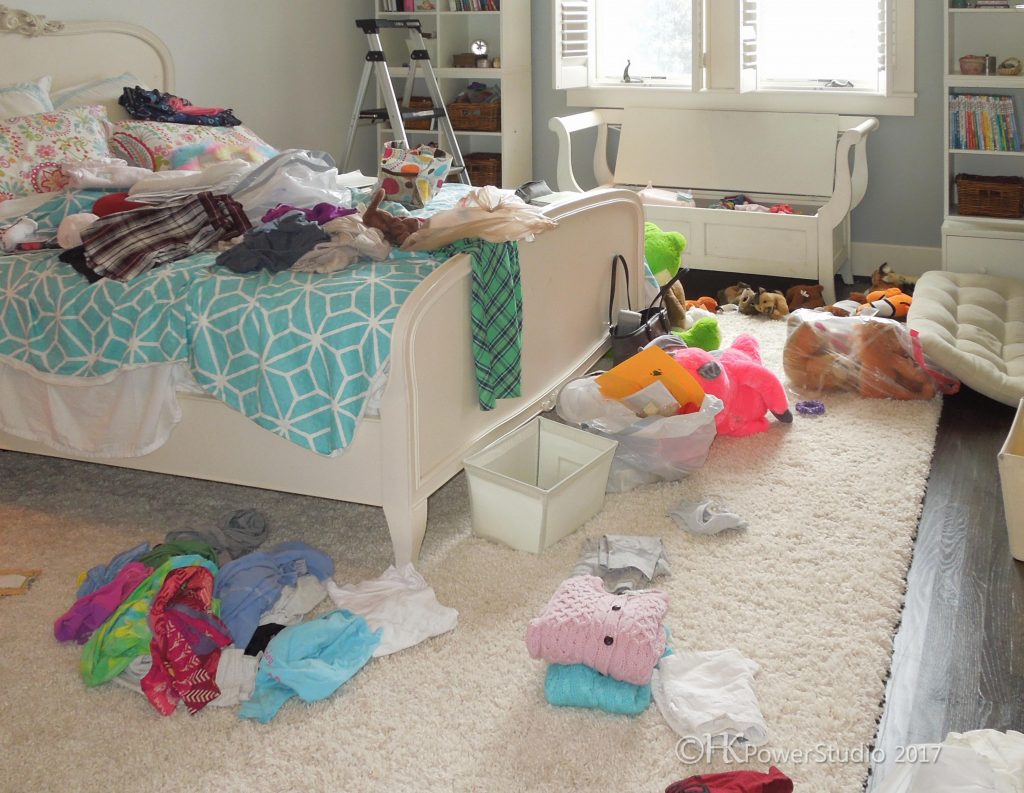
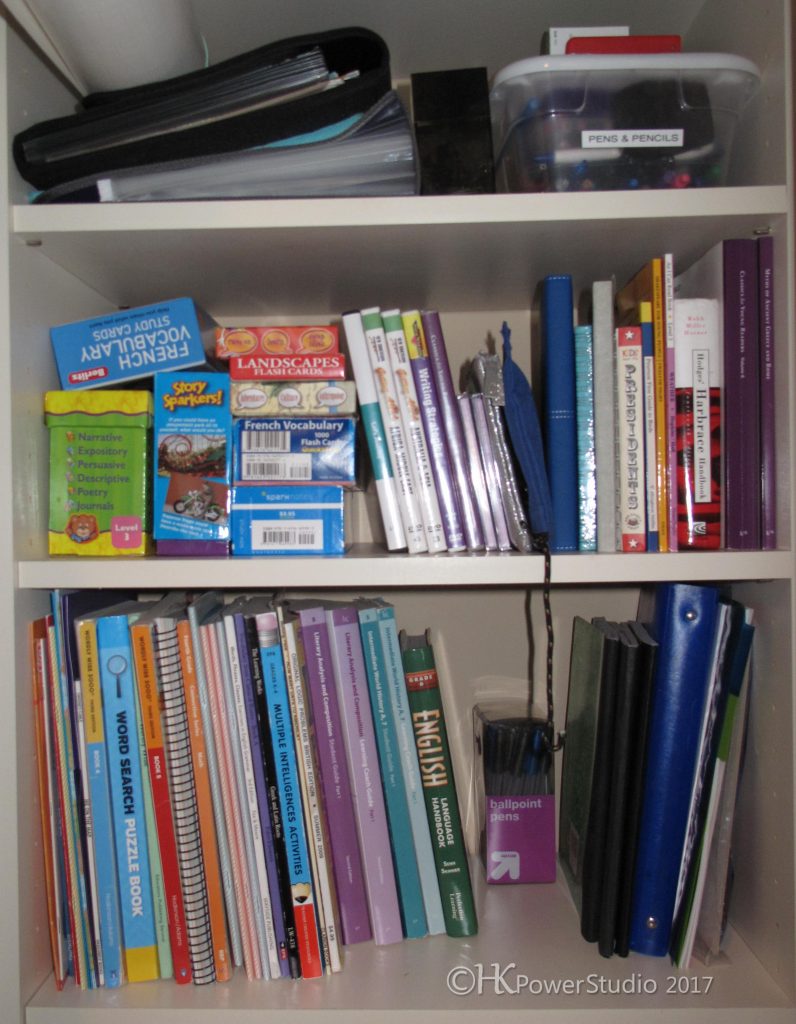
It’s back to School prep time which is also a great time to toss clutter, outgrown clothing and tidy up before the school year begins. Hopefully they’ve had a fun summer filled with vacation play, camps, projects and book reading assignments. Before you head out to shop for supplies, lets get toys, rooms and supplies you already have in order first.

School year Pitch

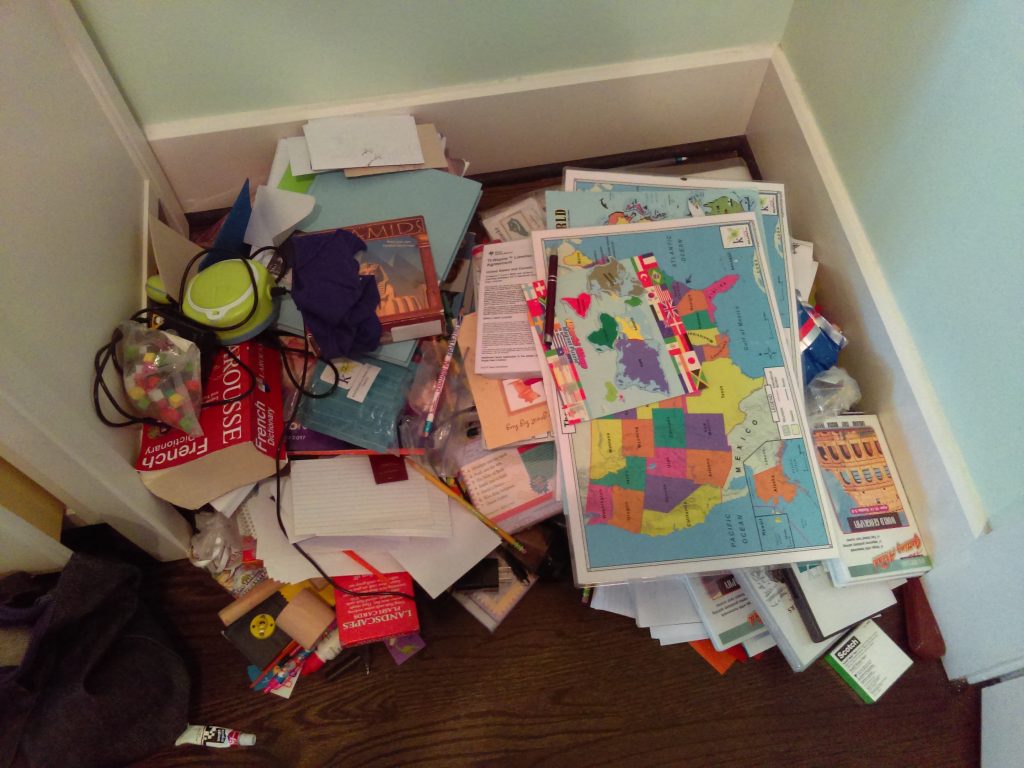
Did those notebooks, textbooks and book bags languishing in the closet, play room, kitchen or bedrooms? If so, you never know what you might find growing by now, arm yourself if necessary!

This should take no more than 30 min’s for most grade and high school kids and I recommend doing it within the first week of school ending but if it didn’t happen at the end of school, it’s a great way to get in the back to school mindset now! Have them gather their book bag/backpack, any supplies and textbooks in their room or anywhere else they study. Put them all in a pile, on the floor, their bed (lots of kids like to work on their bed-it’s comforting) or a table/desk.

School year pitch

Back to School Prep | Pitch It

  • Remove the contents of bags and backpacks (if you didn’t do this at the beginning of the summer). Evaluate the condition of the bag and reusable supplies.
  • Go through notebooks and remove anything that you or your kids want to keep (for sentimental reasons or other), add these to a sentimental box (each child should have their own, separate from the parents).
  • Recycle papers, notes and notebooks no longer needed.
  • Gather books to return to the school, hand down to younger kids or donate to a library.
  • Save supplies that can be re-used in one area and before you shop for back to school, check here first!

Back to School Prep | Supplies

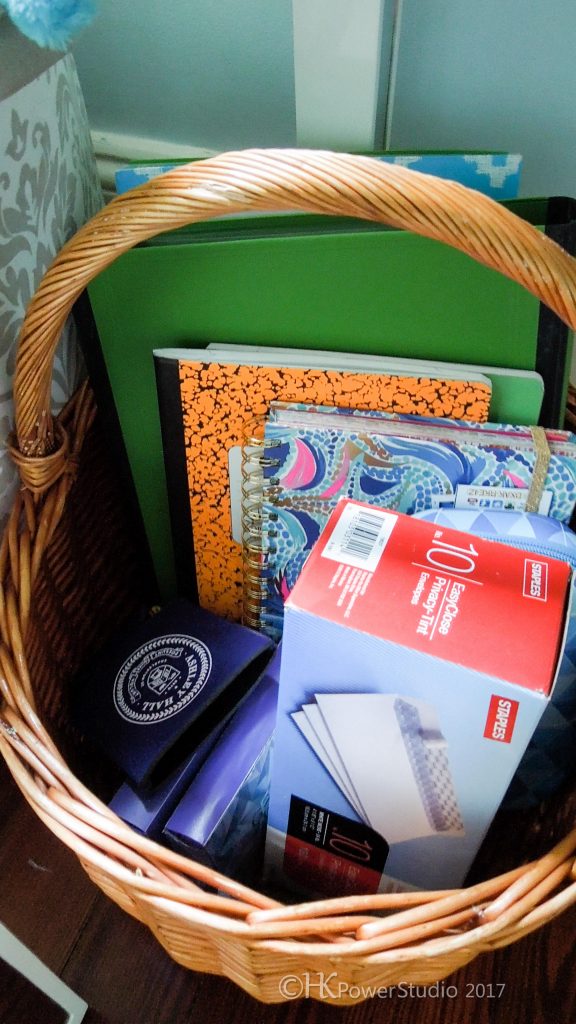
Shop school supplies you have on hand before you head to the store. It might not feel as exciting, but with younger kids you can create a “store” and offer to exchange some kind of reward for items “purchased” at home. This will help teach and reinforce the value of reuse and recycling. As kids get older, I find most of them are pretty keenly aware and want to re-use/not waste materials!

Shelves, cabinets, closets and basket systems, all work great depending on your space and needs. Just be sure it’s easy for you and your kids to get to. If they are older, they may want to keep some of their favorite supplies in their room, otherwise they can all go in one place.  

Back to School Prep | Toys

This might not be something a lot of parents think about at back to school time but games, toys and crafts can collect and then languish in the lost corners once school begins. So it’s really the perfect time to asses what toys and games your kids are still using and donate what they have out grown. Craft and art projects can be stored in sentimental bins or just snap a photo (which you can always print later) and let it go! Keep only their favorites and rotate what is kept out because there won’t be as much time for games and toys.

Back to school prep

I’ll share my tips about Back to school prep for your kids wardrobe and shopping for supplies in the next couple posts! Happy Back to School Prep!!

How Pro’s can help with Organizing Move Management

July 8, 2019 by Heather Filed Under: Move Management, Organize, Organizing Projects, Systems & Techniques, Tips & Resources Leave a Comment

I find a lot of people asking me how can a professional organizer help with organizing move management? This is a great question and there are a lot of resources out there for moving, but an Organizer can help you specifically based on your individual needs and schedule. Of course there are a lot of variables like local or long distance, corporate relocation or DIY, remodel with move, downsizing and possible storage needs. So it can get complicated but I hope I can share some of the basic’s in how we PO’s can help with a variety of moving circumstances!

Organizing Move Management

A big part of what an Organizer does to help with moving is what’s called “Move Management” in our industry. The steps below break down the process and organizers can and will help at any stage along the way, from researching moving companies, purging, setting deadlines and realistic expectations to actually helping with packing, move day coordination and unpacking and organizing at the new home.

Start with the end and set your date!! The most important thing to keep an eye on is the end date…work backwards from there. Get your move scheduled ASAP or at least have a ballpark idea of when the move is happening, 6 weeks or 6 months is going to make a big difference! If you know who you will use, go ahead and book your ideal moving date now (you can change it later if needed).

Don’t under-estimate how much work moving is! One of the biggest mistakes I see when it comes to moving is people under-estimating how much time it takes to prepare, but when we break it down with move date in mind it is a much more manageable process.

Research and decide on your moving company or  how you will be transporting items from old to new location. Will you be packing items yourself, having a moving company come pack everything or something in between?

If you have a lot of items go through and are downsizing a great deal, it’s never too soon to start this process.

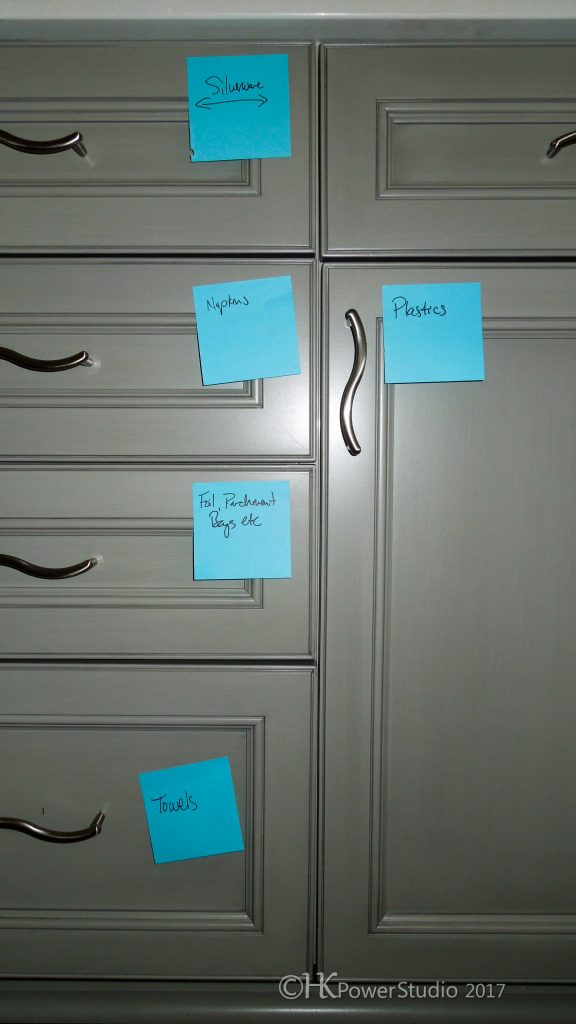
Purge in categories (ex. Clothing, Books, Holiday decor, memorabilia, linens, furniture, etc). Start sorting items one category at a time. I recommend starting with large items like furniture and easy items like linens and toiletries. An organizer can help you decide if it’s best to donate, trash/recycle, sell or give items to family/friends. Use sticky notes and a notepad to identify and tag  items to get rid of. This will help you keep track of larger pieces that will not be making the move.

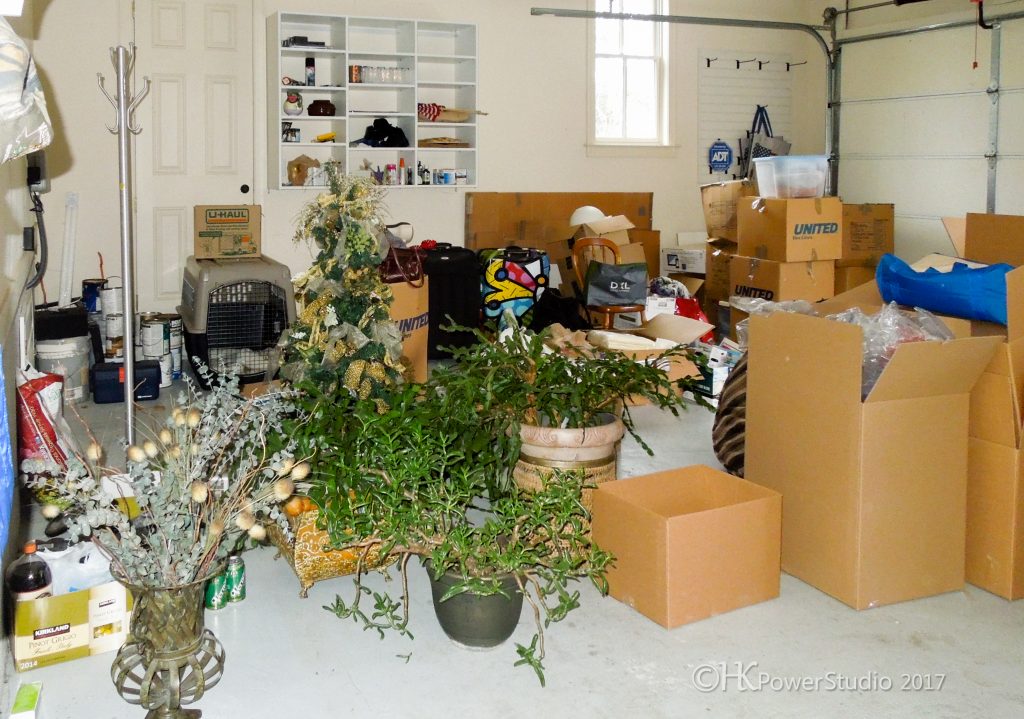
Set aside a short-long term “staging” area that you can use for sorting and temporarily storing items to get rid of (a garage or spare room). This is also an area to keep packing supplies like tape, bubble wrap, paper etc. Start gathering supplies to keep in this area so you can pack as needed.

Make arrangements for weekly pick up or drop off of donations (again, something an organizer can do for you).

professional organizer help with moving

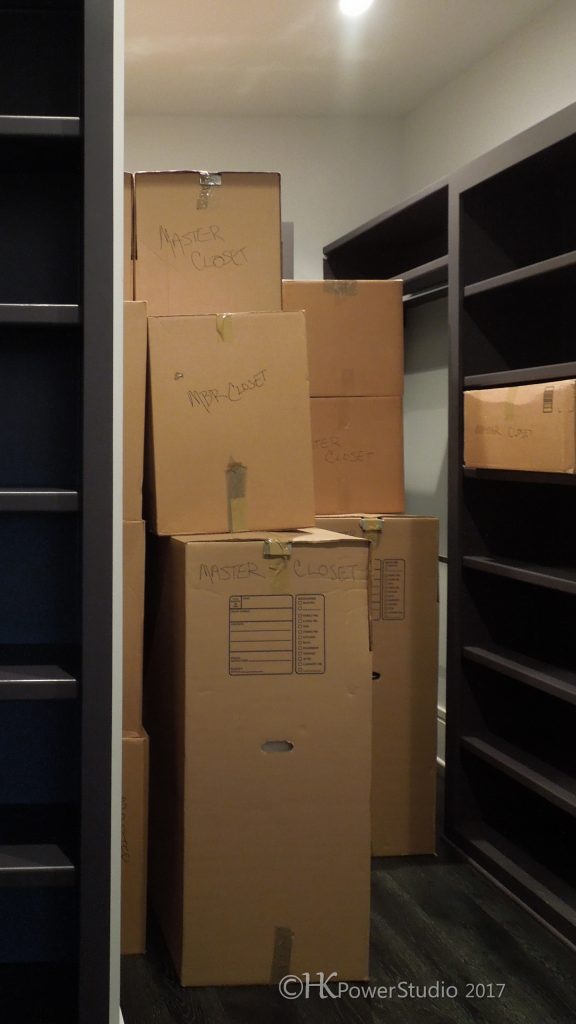
Create an inventory “notebook” or file. As you pack boxes, label them with the room they will go to, box number and general contents on your inventory sheet. Also keep track of special items or valuables on this list.

professional organizer help with moving

Pack up personal photo’s and extra memorabilia, especially if your home is being staged for sale. Work with your real estate agent, organizer or stager to determine the appropriate amount of “accessorizing” for your home’s size and market.

Book your movers about one month ahead if you have not already!

Book your unpacking crew (either with the moving company or your professional organizer).

Did you know that unpack service does not include putting items away? Unpacking service will only place items on horizontal surfaces, this can sometimes be  a big annoyance! Coordinate with your mover and organizer to get you settled in ASAP!

professional organizer help with moving

Pack by category and by room or be sure each room and category is ready to be packed by professionals in a way that will make the most sense when unpacking. Gather all papers into one place and any other categories you would like to be packed together.

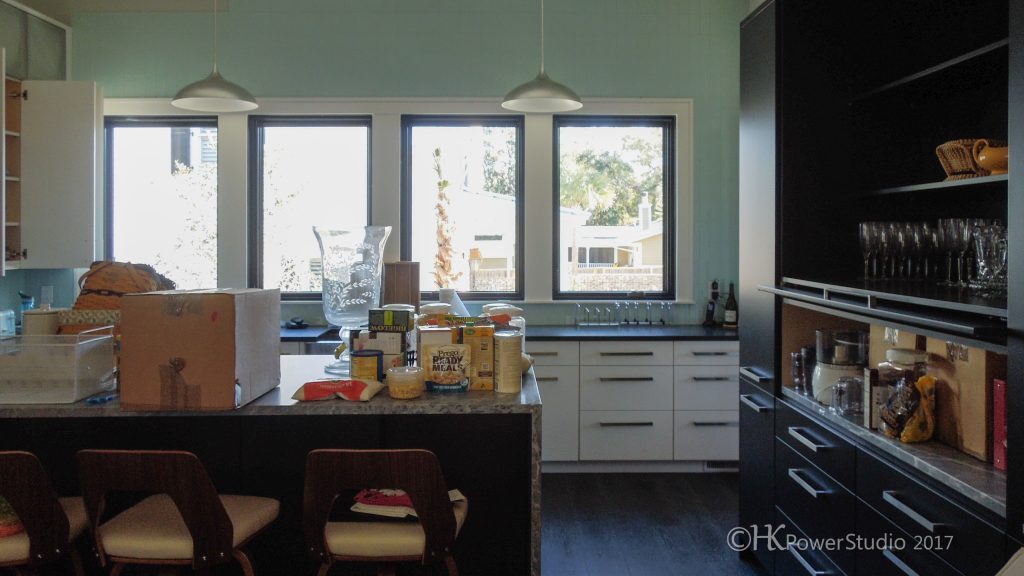
The last items to be packed should be the first items to be unpacked. Be sure you know where items like sheets, towels and frequently used household items are (ex. coffee pot, cleaning supplies, paper plates or a few essential dishes etc).

Set aside toiletries, clothing, small valuables, medications, food items and important papers you want to hand carry to your new home on moving day. These items should be packed by you in your luggage.

Hire your organizer for move day coordination. They can meet your movers as they pack the contents of your old home, checking to be sure items are properly labeled and identified to be placed in your new home properly.

Hire your organizer (or a crew) for 1-2 days of unpacking service to help get your essential rooms (and beyond) set up for your first night in your new home. An organizer will meet the moving crew, have them place boxes in a location that will not impede household use and will begin unpacking essential rooms like bedrooms, closets, bathrooms and the kitchen.

professional organizer help with moving

Have a restful first night in your new home!

Moving can be stressful but with planning, prioritizing and help from an organizer, it can be a breeze and a lot of fun settling into a new home!Organizing Move Management

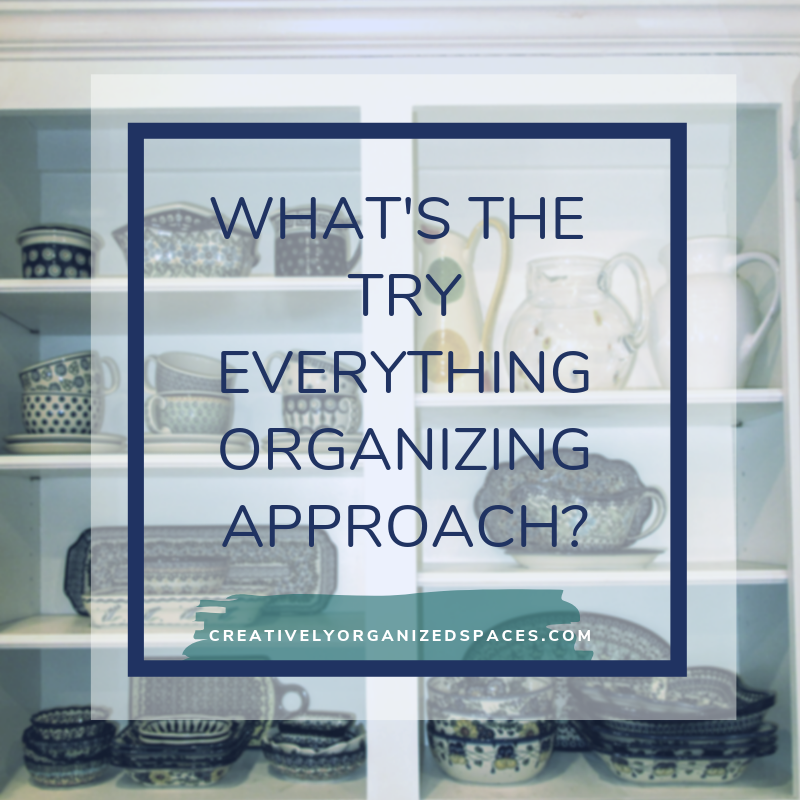
Try Everything Organizing

June 4, 2019 by Heather Filed Under: Creative process, Organize, Systems & Techniques, Tips & Resources Leave a Comment

There are a lot of people who feel like they LIVE the try everything organizing approach and there are others who feel that the latest trends or books about organizing SHOULD work for them, but they don’t. That can be extremely frustrating and lead a lot of people to think they are doing something wrong or that they just can’t get organized! That makes me so very sad!

I like to take the ‘Try Everything Organizing approach” when working with creative clients who feel overwhelmed or like organizing is impossible for them. What do I mean by this? Well, we might mix systems for example and use the Kondo technique for books and clothing but try something very different for anything that is sentimental and harder to part with. When I say I use the Try Everything Organizing approach, I literally am going back and drawing on all the systems and techniques I’ve learned from books and classes on organizing and productivity.

I believe that when we are learning something new, we need to explore different techniques, experiment and practice. A dogmatic approach might work for some disciplined personalities but it might be more frustrating than helpful for artists, collectors, free thinkers and less conventional creative individuals. I work with a lot of clients who fall into one of the above categories…not putting anyone into a box, just sharing a description of some of my favorite client! Sometimes some of these individuals are ADD/HD and are so creative in their approach to problem solving, we come up with (invent/discover) some really amazing solutions. Mistakes lead to invention! There might be obstacles along the way…

  • you might be frustrated
  • you might be overwhelmed
  • you might be-feel laziness
  • you might be un-interest or un-motivation
  • there might be other people involved
  • you might feel shame
  • you might experiment
  • you might take an unorthodox approach
  • you might fail and try again!

Give yourself some “Try Everything Organizing” prompts such as, “What would happen if”? Respond by writing about it, or acting it out. What would happen if I…

  • I got rid of clothes that don’t fit?
  • I let go of books I have read and won’t re-read?
  • I gave someone who needed __________ more than I do?
  • I got rid of the magazine articles I tore out but never reference?
  • If I tried storing __________ here instead of there?
  • I let go of a few of my less favorite items in my collection?
  • If I tried folding my ________ instead of hanging them?
  • I tried living with less ________?

Your turn…what have you tried that hasn’t worked for you? What has worked? Are you already using the Try Anything Organizing approach? If not and you want to give it a try, I’d love to hear from you, Here.

How to kill your creative darlings

May 29, 2019 by Heather Filed Under: Art, Art & Design, Creative process, Inspiration & Education, Organize, Tips & Resources, Wellness & Mindset Leave a Comment

Let’s start by asking ourselves what are creative darlings?

Darling is synonymous for precious, adored, favorite, beloved, loved, cherished, treasured, prized, esteemed, worshipped, idolized etc. You get the picture. Sometimes people think of creative darlings as things that are too precious. We are so attached to them that we might not be objective. I like to think of them as the unnecessary “fluff” that we use to embellish and in fact those darlings can detract from the essence of what you are trying to create. The term “kill your darlings” has been attributed to a 1914 writing lecture “On Style”:

If you here require a practical rule of me, I will present you with this: ‘Whenever you feel an impulse to perpetrate a piece of exceptionally fine writing, obey it—whole-heartedly—and delete it before sending your manuscript to press. Murder your darlings.

Writer Arthur Quiller-Couch

Creative darlings can be the outcome of overthinking, overworking, exertion to try to MAKE something incredible. They can also be the outcome of decision fatigue, we get tired of editing and just leave stuff where it is, we get a little lazy and attached! It’s a scary prospect to decide to “kill” something we have created (curated, collected, envisioned) but when we get overly attached, we are not seeing what’s best for the big picture. It can be liberating to trust and believe that by letting go, something better might emerge!

Don’t get so blinded by what you’ve invested (time, $, emotions) that you lose sight of the big picture. We can get so caught up in our own thoughts & ideas that we may not realize when they are failing to pay off for us. Be willing to let go of your grip, trust the creative process, know that by severely pruning out the “dead wood” we will see the most vigorous and healthy lush new growth!

creative darlings

Kill your darlings in your creative process, kill your darlings when your editing your wardrobe, kill your darlings when you are looking around your home and decluttering.

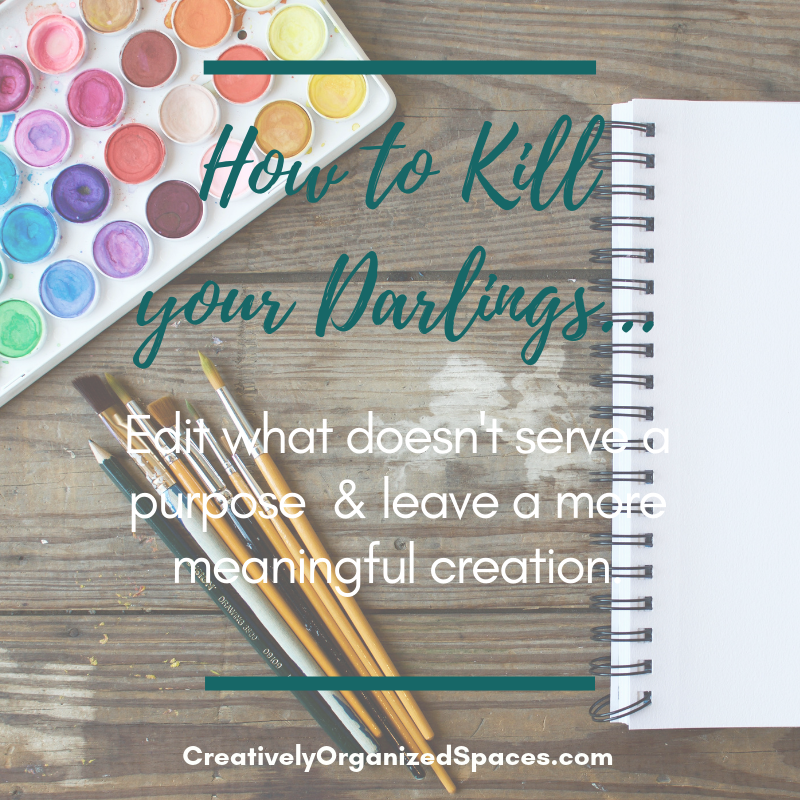
How to kill your creative darlings…

Edit what doesn’t serve a purpose & leave a more meaningful creation.

My argument for keeping stuff…

May 22, 2019 by Heather Filed Under: Art, Art & Design, Creative process, In the Studio, Inspiration & Education, Organize, Systems & Techniques, Tips & Resources Leave a Comment

Lately I’ve been in the midst of decluttering my art studio and I’ve got a heap of stuff to get rid of! I’ve certainly waxed on and on here about letting stuff go but today I want to share my argument for keeping stuff. This argument is not necessarily one that can be applied to all categories of “stuff” in our homes or work life but it’s certainly relevant for “artists” who work a process.

argument for keeping stuff

As both an artist and an organizer, I often have partially (un) finished works in progress (WIP’s) laying around my studio. Unlike partially made food, most art projects don’t have an expiration date and reviewing older work can spark both joy and inspiration to grow and work in a new direction! Some of the artist I work with invite me to participate in the process of reviewing work they have made. Together we sort into the Keep or Toss piles just like we might do with anything else (clothes, books etc). A lot can be said for tossing some of our badly made, “UGLY” art! Seriously, sometimes I look at some things I made and it just makes me cringe. I don’t want to keep those things, in most cases, not even to re-purpose into something else or give away.

Then there’s the argument for keeping stuff that is worth exploring further. Maybe it’s a certain technique, a color combination, something striking about composition or something nostalgic that evokes a personal response. All of these are great reasons to hold onto some of our art that might not be “best work” or finished. One of the most challenging aspects of making works of any type of art is knowing when to say it’s done. If something is undercooked or we leave it on the burner too long, it’s no longer edible. Art can be like that too, if it’s under developed or overworked it might just have to go (into the trash). But we learn from our creative mistakes! Part of the process of developing our skills is to review our mistakes and our successes. Looking back at work we made that helps us to grow argues a strong case for keeping some things that might not have been finished or “successful”.

I once read an article on creative process where the artist Robbi Joy Eklow suggested a “Time Out Box” for works of this nature. We do this with kids and with kids toys, why not our art? Setting something that you are unsure of aside so that you can come back later, review it again to see if it “Sparks Joy” is a great way to learn from your creative process. I’ve gone back to sketchbooks from 20+ years ago and found ideas that I’ve revisited and been overjoyed with. I don’t think there’s any time limit on creative incubation, do you?

  • « Previous Page
  • 1
  • 2
  • 3
  • 4
  • 5
  • 6
  • …
  • 31
  • Next Page »

Search this site…artists, tips, posts & more!

Fresh Posts

simple paper sorting

Simple paper sorting

Discovering Delight

Sanity Saving Holiday Organizing Tips

Indoor Gardening for a Healthy Home

Piles of Papers

Piles of Paper and no system in sight?

Paperless organizing; Going digital

Search blog by Popular Category

info@hkpowerstudio.com
[office] 240-778-2804 *area code must be dialed/no text

Search Blog by Popular Catetories

Seach Blog by date

Copyright © 2023 · Swank WordPress Theme By, PDCD